How To Install Apache on Ubuntu 22.04
In this guide, we will explain how to install Apache on Ubuntu 22.04, enabling you to set up a reliable web server for your applications and websites.
Apache HTTP Server, commonly referred to as Apache, is an open-source web server software. It is one of the oldest and most reliable web servers, used to serve web pages to users.
This article explains how to install Apache on Ubuntu 22.04.
Prerequisites
- Launch the Ubuntu 22.04 instance on RackBank.
- Create a new domain or subdomain A record that points to your server's IP address.
- Access the server using SSH.
Let's follow step by step for a complete Apache installation and basic configuration on Ubuntu 22.04.
Step 1: Update & Upgrade the System
First, update your package list to ensure you have the latest information on available packages:
sudo apt-get update -y
sudo apt-get upgrade -y
Step 2: Install Apache
Install Apache using the apt package manager:
sudo apt-get install apache2 -y

Step 3: Verify the Installation
Check if Apache was installed correctly by running:
sudo apache2 -v

Step 4: Start and Enable Apache
Once Apache is installed, start the Apache service:
sudo systemctl start apache2
Enable it to start automatically when the system reboots:
sudo systemctl enable apache2
![]()
Step 5: Check the Status
Ensure the server is running smoothly:
sudo systemctl status apache2

Step 6: Check Apache Default Port
To verify that Apache is running on its default port (80), execute the following command:
sudo ss -antpl | grep apache
![]()
Step 7: Adjust the Firewall
If you're using UFW (Uncomplicated Firewall), allow Apache traffic:
sudo ufw allow 'Apache'
sudo ufw enable
sudo ufw status

Step 8: Test the Apache Web Server
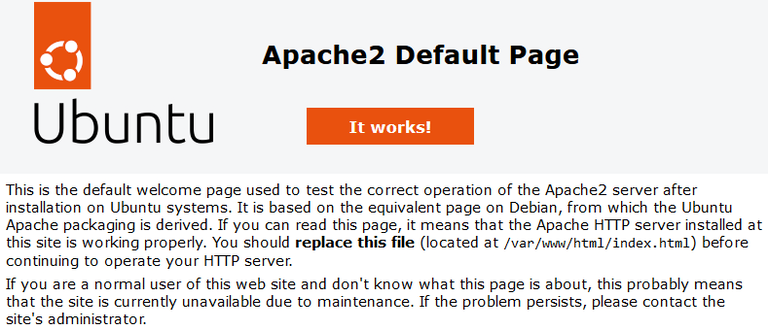
To verify your Apache installation, navigate to http://your-server-ip in your web browser. You should see the Apache2 Ubuntu Default Page, indicating that the web server is functioning correctly.
 s
s