How to Install WordPress on AlmaLinux
In this guide, we’ll walk you through the process of installing WordPress on an AlmaLinux server. WordPress is a powerful open-source content management system (CMS) that helps you easily create, manage, and maintain websites. By the end of this guide, you'll have a fully functional WordPress site on your server.
Prerequisites
- A server running AlmaLinux.
- A user with sudo privileges to perform administrative tasks.
- A domain name or public IP address for accessing your server (if applicable).
Steps to Set Up WordPress on AlmaLinux
1. Update and Upgrade Your Server
- First, it's important to update your system to ensure that you have the latest software and security patches. Run the following command:
sudo yum update -y && sudo yum upgrade -y
2. Configure SELinux and Firewall
- AlmaLinux has SELinux enabled by default, which may cause issues with web applications like WordPress. To temporarily disable SELinux and the firewall, run:
sudo setenforce 0
sudo sed -i 's/enforcing/disabled/g' /etc/selinux/config
sudo systemctl stop firewalld
- These steps ensure that SELinux doesn't interfere with the installation process, and the firewall is temporarily stopped for the duration of the setup.
3. Install Apache, MariaDB, PHP, and Required Modules
- Next, we need to install the web server (Apache), the database server (MariaDB), and PHP, as well as necessary PHP modules. Run:
sudo yum install httpd php php-common php-mysqlnd php-mbstring php-gd mariadb-server mod_ssl -y
- After the installation, start the Apache and MariaDB services with the following commands:
sudo systemctl start httpd && sudo systemctl start mariadb
- Enable these services to start automatically when the server reboots:
sudo systemctl enable httpd && sudo systemctl enable mariadb
4. Create a MySQL Database and User for WordPress
- WordPress needs a MySQL database to store its content and configurations. Let’s create a new database and user specifically for WordPress.
- Log into MariaDB:
sudo mysql -u root -p
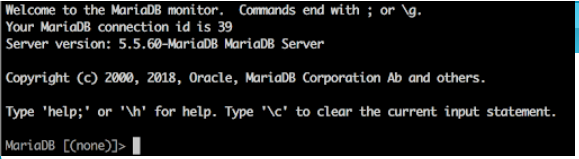
- Once logged in, run the following commands to create the database and user:
CREATE DATABASE wordpress;

- To create a new account, use the username user_name and assign it the password
CREATE USER 'wp_user'@'localhost' IDENTIFIED BY 'your_password_here';
GRANT ALL PRIVILEGES ON wordpress.* TO 'wp_user'@'localhost' WITH GRANT OPTION;
![]()
FLUSH PRIVILEGES;
- Replace 'your_password_here' with a secure password for the wp_user. This user will now have full access to the WordPress database.
5. Download and Install WordPress
- Now, let's download and install WordPress on the server. First, use curl to download the latest version of WordPress:
curl -O https://wordpress.org/latest.tar.gz
- Extract the downloaded archive:
tar zxvf latest.tar.gz
- Move the extracted files to the web server's root directory:
sudo mv wordpress/* /var/www/html/
- Change the ownership of the files so Apache can access them:
sudo chown -R apache:apache /var/www/html/
6. Install PHP and Required Modules
- If you haven't installed PHP yet or need to install additional PHP modules, follow these steps to install the necessary PHP repository:
yum install epel-release yum-utils -y
yum install http://rpms.remirepo.net/enterprise/remi-release-7.rpm
yum-config-manager --enable remi-php74
- Now install PHP and related modules:
yum install php php-mysql -y
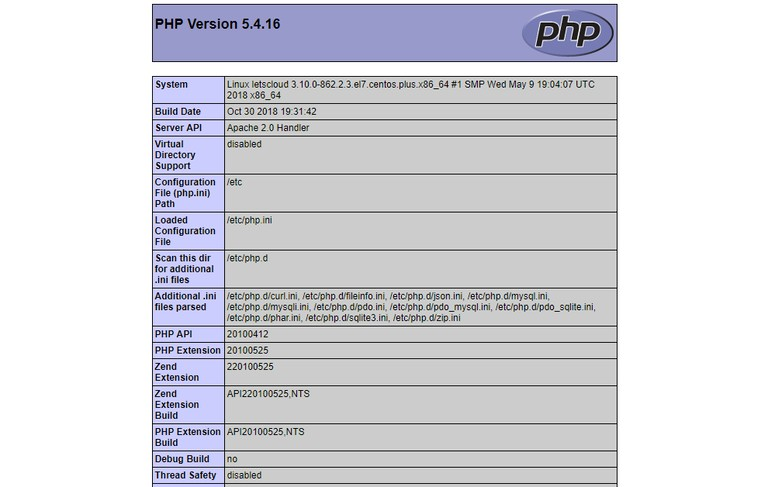
- Check the installed PHP version:
php -v
- Restart Apache to apply the changes:
sudo systemctl restart httpd
7. Complete the WordPress Installation via Web Interface
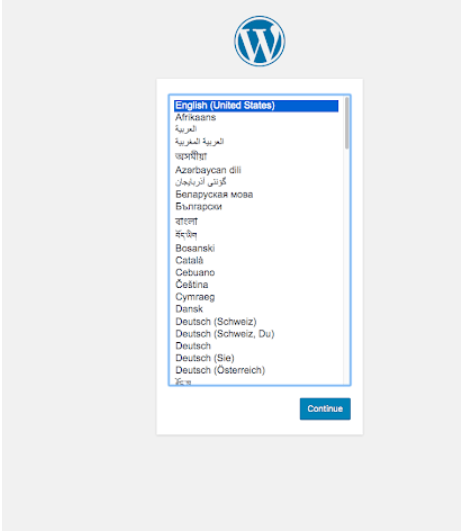
- At this point, you’ve set up WordPress on your server, but you need to complete the installation through a web browser. Open your web browser and go to your server’s IP address or domain name:
http://<your-server-ip>
- Select the language for the WordPress installation and click "Continue."
- On the next page, enter your WordPress site details and create an administrator account. This will be used to manage your WordPress site.
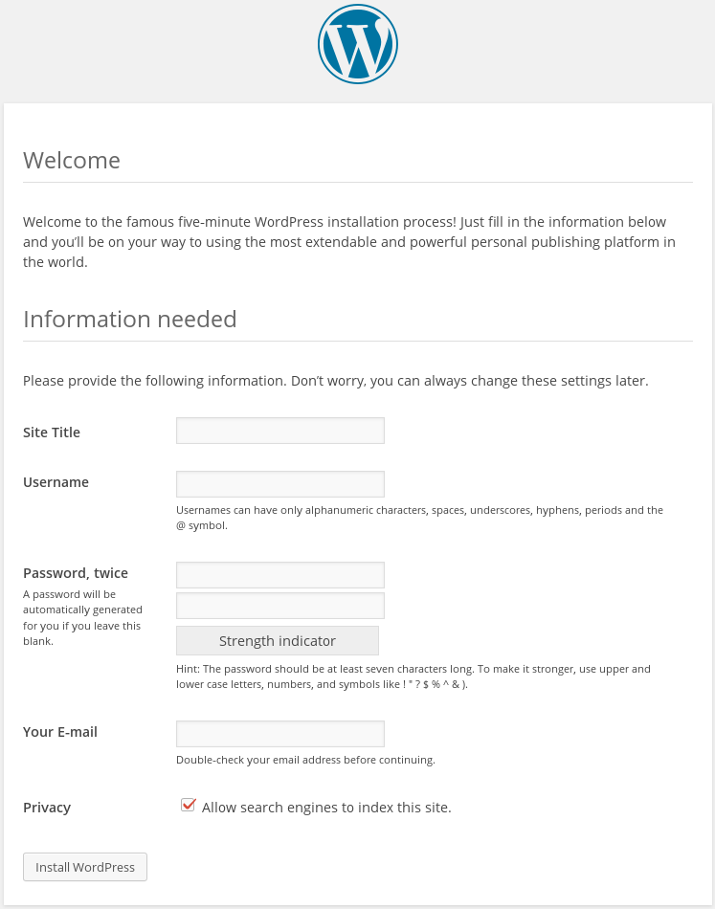
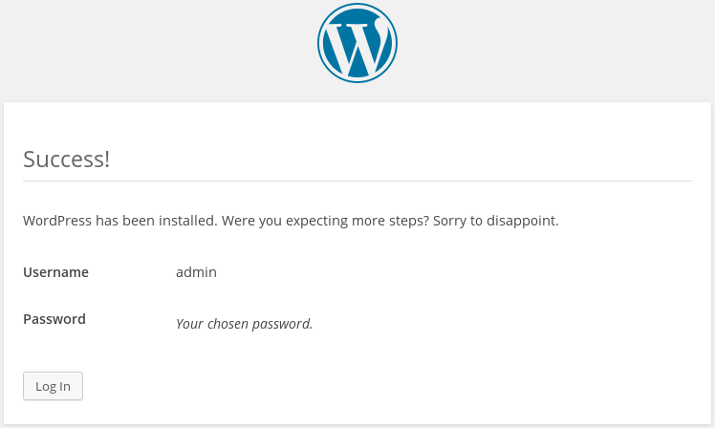
- After filling out the details, click the Install WordPress button. Once the installation is complete, you’ll see a success message. You can now log in to your WordPress dashboard using the admin credentials you created during the setup.
8. Access Your WordPress Dashboard
- To log in to your WordPress site, navigate to:
http://<your-server-ip>/wp-login.php
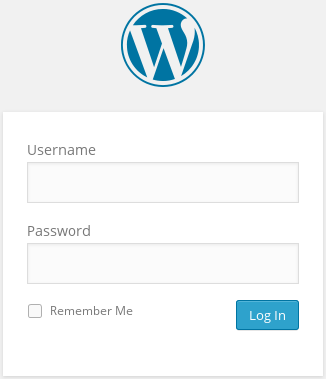
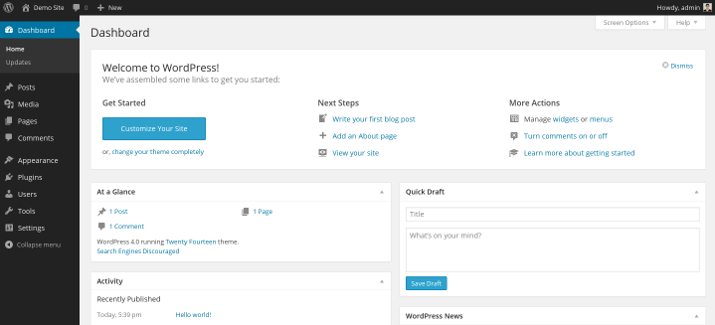
- Enter your username and password, and you’ll be taken to your WordPress dashboard, where you can start customizing your website.
Conclusion
- You’ve now successfully installed WordPress on AlmaLinux! You can begin adding content, installing themes and plugins, and building your website.