Setting Up the LEMP Stack (Linux, Nginx, MySQL, PHP) on Ubuntu 22.04
This guide will walk you through the steps to install and configure the LEMP stack (Linux, Nginx, MySQL, PHP) on an Ubuntu 22.04 server. By the end of this guide, you'll have a fully functioning server capable of hosting dynamic web applications.
What is the LEMP Stack?
The LEMP stack is a powerful combination of open-source software that is widely used to host web applications. The acronym "LEMP" stands for:
- Linux: The operating system that forms the backbone of the stack.
- Nginx: The high-performance web server that handles client requests.
- MySQL: The database system used to manage data.
- PHP: The scripting language that generates dynamic content on the server side.
These components work together to provide a solid platform for hosting websites and web applications.
Prerequisites
- An Ubuntu 22.04 server (this guide is applicable to any Linux distribution).
- Root privileges (or sudo access) on your server.
1. Updating the System
- Before starting the installation, it's essential to update your system to ensure you have the latest software packages.
sudo apt-get update -y && sudo apt-get upgrade -y
Step 2: Install Nginx Web Server
- To install the Nginx web server, use the following command
sudo apt-get install nginx -y
- Once the installation is complete, you can start the Nginx service:
sudo systemctl start nginx
- Enable Nginx to start automatically on boot:
sudo systemctl enable nginx
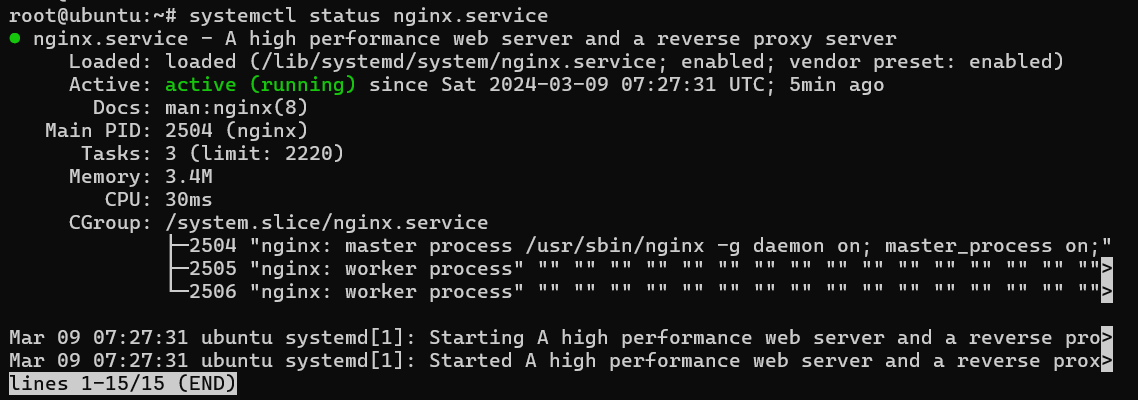
- Check the status of the Nginx service to ensure it's running:
sudo systemctl status nginx
- To verify the version of Nginx installed:
sudo nginx -v

3. Checking Nginx's Default Port
- You can check that Nginx is running on the default HTTP port (port 80) by using the following command:
ss -antpl | grep nginx

4. Configuring the Firewall
- If you're using UFW (Uncomplicated Firewall) to secure your server, allow HTTP traffic for Nginx:
sudo ufw allow 'Nginx HTTP'
sudo ufw status

- Afterward,open your browser and navigate to http://your-server-ip

- .You should see the default Nginx welcome page.
5. Installing MySQL
- To install the MySQL server, run:
sudo apt-get install mysql-server -y
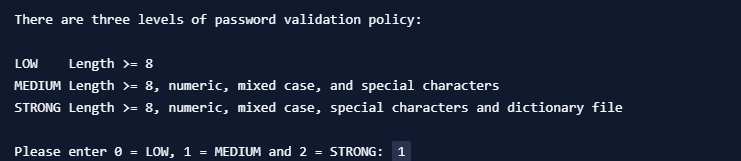
- After installation, secure the MySQL server by running the following command:
mysql_secure_installation
- You'll be prompted to answer several security-related questions.

- It is recommended to enable strong password validation and to set a root password.

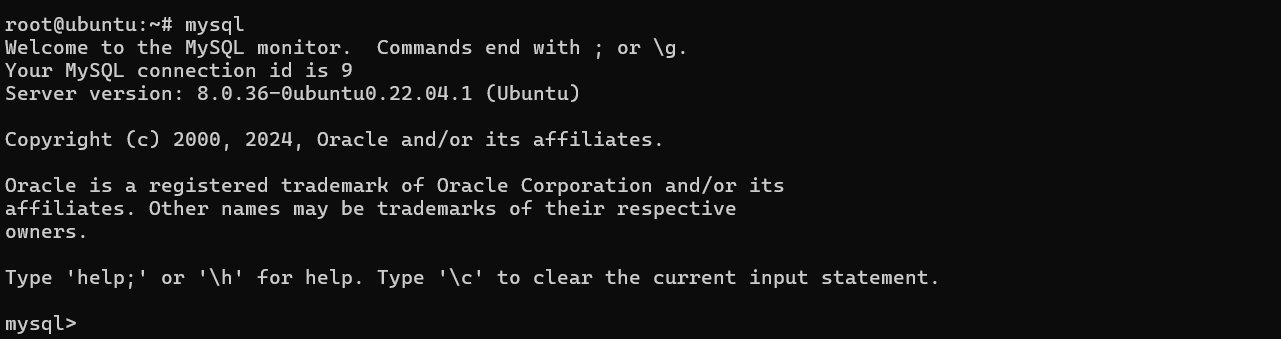
6. Accessing MySQL
- You can access the MySQL shell by running:
sudo mysql
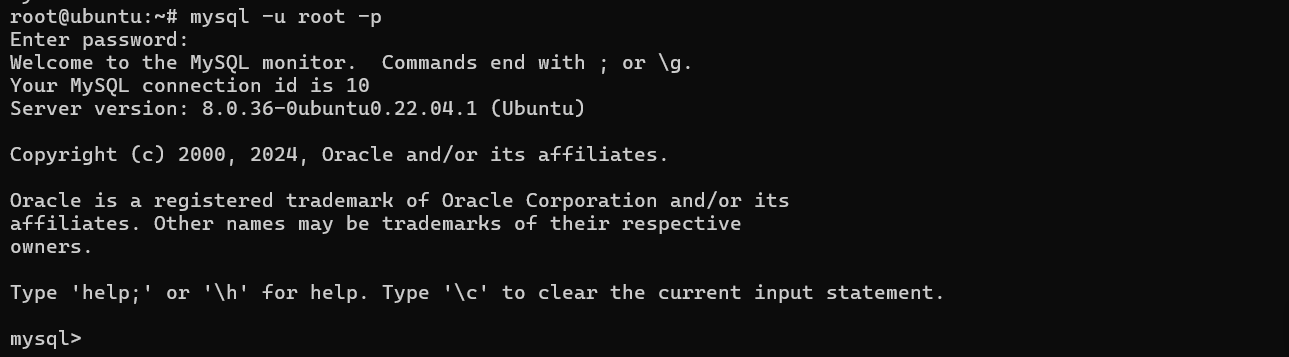
- If you want to log in with a specific MySQL user, use the following command:
mysql -u <your-username> -p
7. Installing PHP
- To enable PHP support for Nginx, install PHP-FPM and the MySQL module for PHP:
sudo add-apt-repository universe
sudo apt-get install php-fpm php-mysql -y
8. Configuring Nginx to Use PHP
- Now, you'll need to configure Nginx to process PHP files. This is done at the server block level, similar to Apache's virtual hosts.
- Create a new Nginx server block configuration file:
sudo vi /etc/nginx/sites-available/your_domain_name

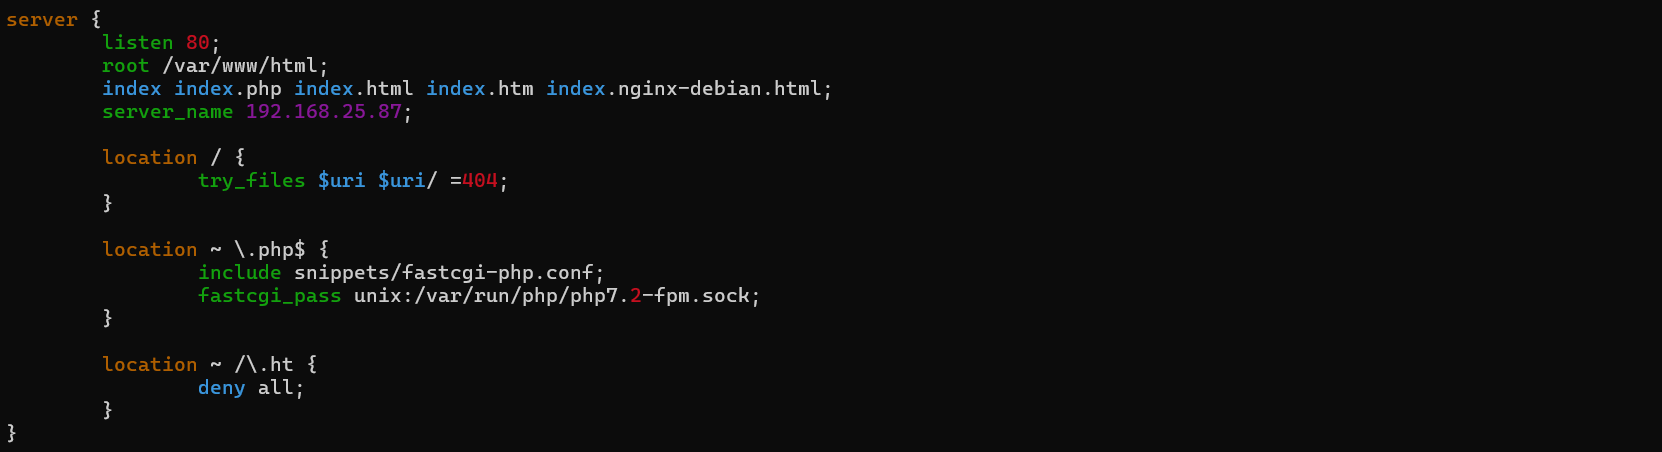
- Add the following content to the file (replace SERVER_IP with your server's public IP and PHP_VERSION_INSTALLED with your PHP version, which you can check with php --version):
- nginx server
server {
        listen 80;
        root /var/www/html;
        index index.php index.html index.htm index.ngnix-debian.html;
        server_name <SERVER_IP>;

        location/ {
                try_files snippets/fastcgi-php.conf;
        }

        location ~ \.php$ {
                include snippets/fastcgi-php.conf;
                fastcgi_pass unix:/var/run/php/php<PHP_VERSION_INSTALLED>-fpm.sock;
        }

        location ~ /\.ht {
                deny all;
        }
}
- After adding the configuration, save and exit the file. Next, create a symbolic link to enable this configuration:
sudo ln -s /etc/nginx/sites-available/your_domain_name /etc/nginx/sites-enabled/example.conf

- Check for syntax errors in your configuration:
sudo nginx -t

- If the test is successful, reload Nginx to apply the changes:
sudo systemctl reload nginx
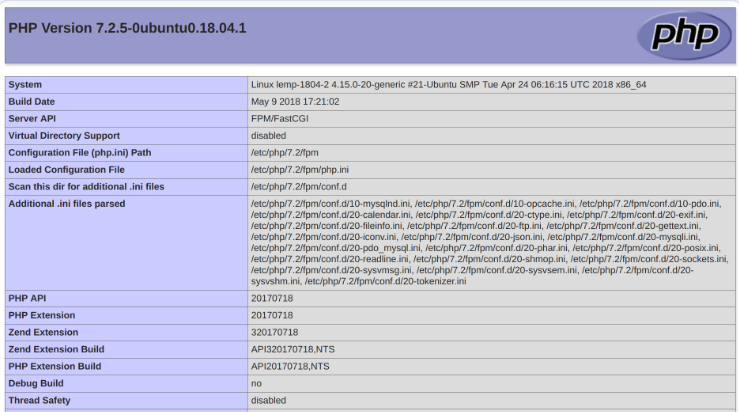
9. Testing the PHP Configuration
- To ensure everything is working correctly, create a test PHP file to display PHP information. This file will help you verify that Nginx is correctly processing PHP files.
- Create the file info.php in your web root directory:
sudo vi /var/www/html/info.php
- Add the following PHP code:
<?php phpinfo(); ?>
- Save the file and exit. Now, in your browser, navigate to: arduino
http://<your-server-ip>/info.php
This should display a PHP information page, showing details about your server configuration.