Guide to Installing cPanel on AlmaLinux
This guide provides detailed steps on how to install cPanel on an AlmaLinux instance, making it easy for you to manage your web hosting and server applications effectively. With cPanel, you get a powerful, user-friendly control panel that simplifies tasks such as website management, email configuration, and domain handling.
What is cPanel?
cPanel is a well-known web hosting control panel that simplifies server and website management. Its intuitive interface makes it easy for users to perform a variety of tasks, including:
- Monitoring server performance to ensure resources are utilized optimally.
- Managing domains and DNS settings to handle online identities effortlessly.
- Organizing and accessing website files from a central location.
- Creating and managing professional email accounts tied to your domain.
Whether you're managing a small website or running a hosting business, cPanel offers the tools you need for easy server and site management.
Prerequisites
Before starting the installation of cPanel on your AlmaLinux server, make sure you meet the following requirements:
- Operating System: A fresh installation of AlmaLinux 8.
- Hardware: Minimum of 1 GB RAM (2 GB is recommended) and 20 GB of free disk space (40 GB or more is recommended).
- Valid cPanel License: You will need either a purchased license or a trial license.
- Hostname: Set a Fully Qualified Domain Name (FQDN) for your server.
- Required Packages: Ensure Perl and Curl are installed.
Step 1: Update AlmaLinux System Packages
Start by updating your system to ensure all existing packages are up-to-date:
sudo yum update -y
Step 2: Import AlmaLinux GPG Key
To install cPanel, you need to import the GPG key for AlmaLinux:
sudo rpm --import /etc/pki/rpm-gpg/RPM-GPG-KEY-AlmaLinux
If this key is missing, you can manually download and import it:
curl -O https://repo.almalinux.org/almalinux/RPM-GPG-KEY-AlmaLinux
sudo rpm --import RPM-GPG-KEY-AlmaLinux
Afterwards, verify that the key is installed:
rpm -q gpg-pubkey
Step 3: Install Required Dependencies
Now, install the necessary dependencies for the cPanel installer:
sudo yum install perl curl -y
Step 4: Download and Install cPanel
Once dependencies are installed, navigate to the /home directory and download the cPanel installation script:
cd /home
curl -o latest -L https://securedownloads.cpanel.net/latest
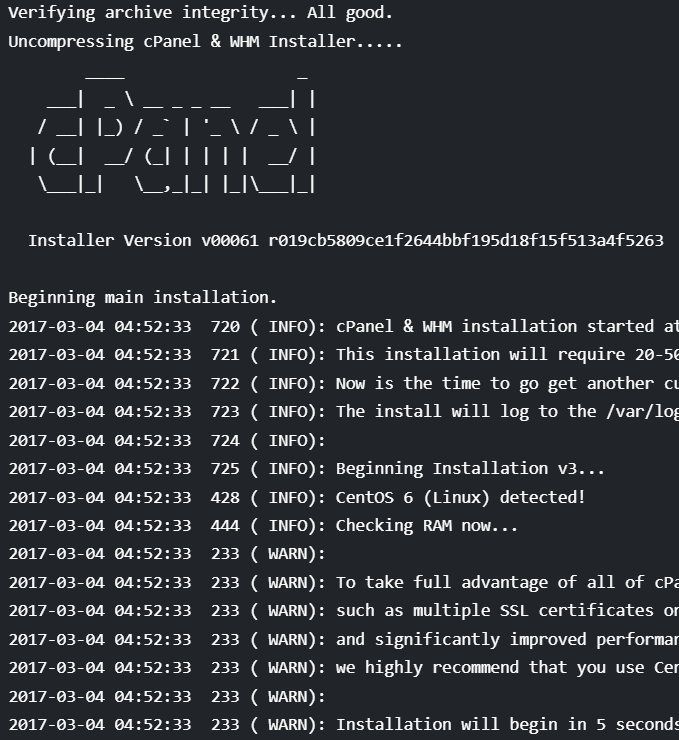
Run the installation script:
sh latest
The installation will take 10 to 15 minutes depending on your server's resources.
Step 5: Access the WHM Interface
After the installation is complete, you can access the WebHost Manager (WHM) interface at the following URL:
https://<YOUR_SERVER_IP>:2087
For individual user cPanel access, use:
https://<YOUR_SERVER_IP>:2083
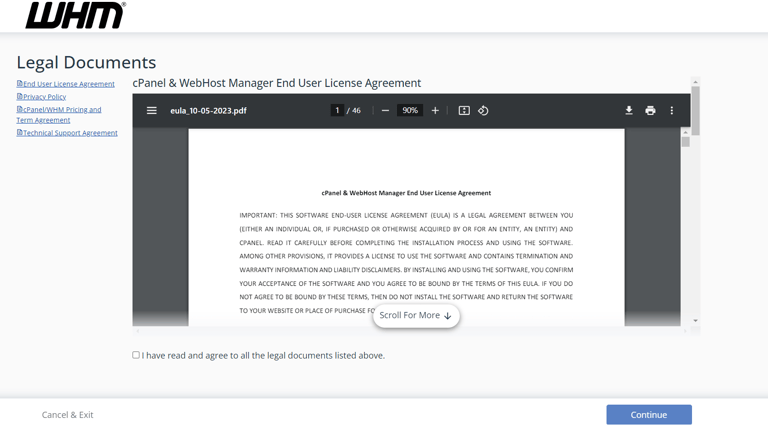
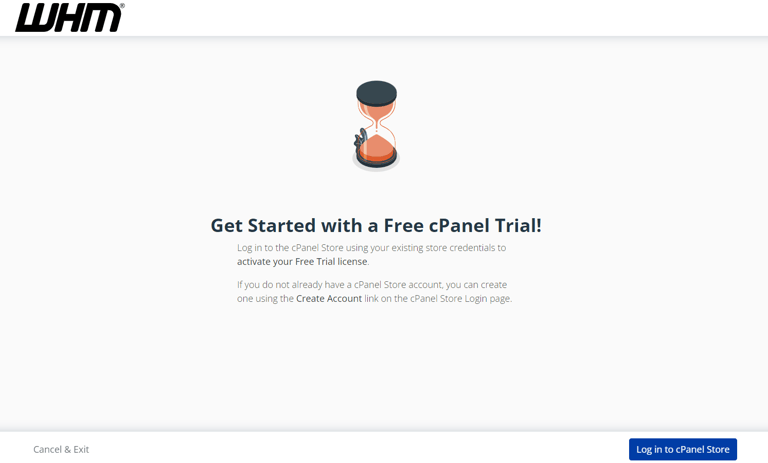

Step 6: Licensing and Registration
On your first visit to WHM, you'll be prompted to register for a 15-day free trial license if your IP address doesn't already have a license. Click Login to sign up for the trial and follow the on-screen instructions.
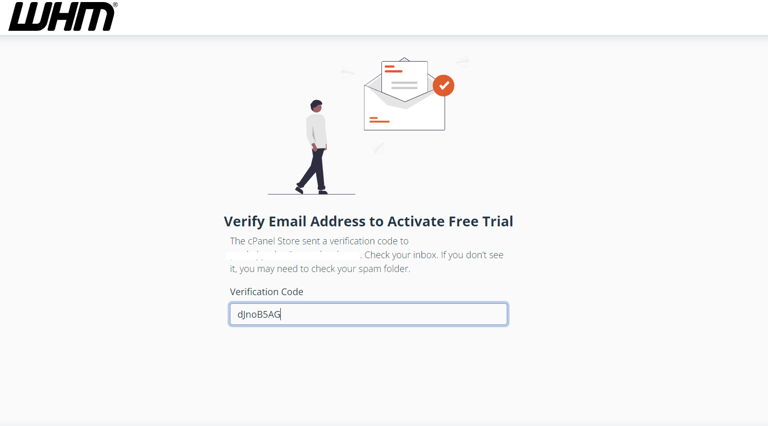
Once you've registered and verified your email, you'll receive a verification code. Enter the code into the designated field to activate the trial. If you're using a dynamic IP, you may need to purchase a cPanel license.
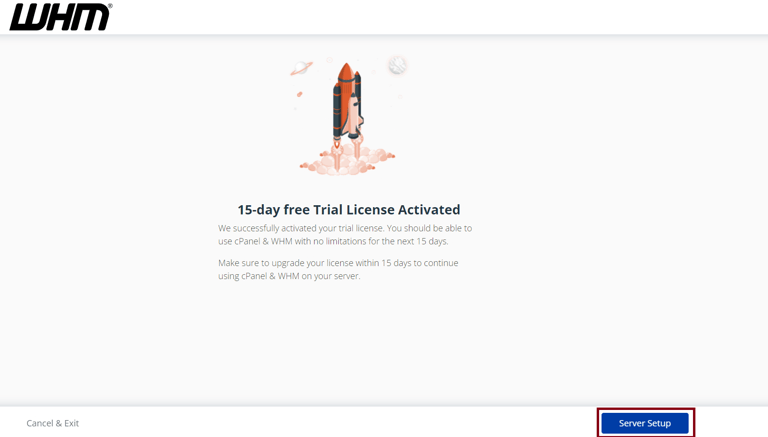
Step 7: Complete the Initial Configuration
During the first login, you'll need to set up several key configurations:
- Administrator Email: Enter an email address for administrative notifications.
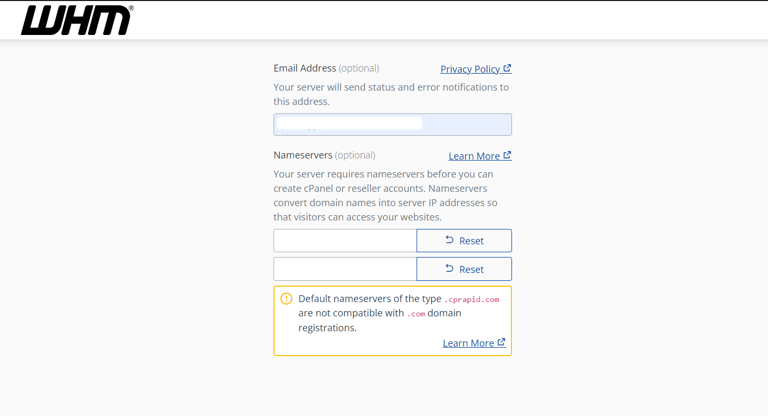
- Nameserver Configuration: Define your server's nameservers. These can later be used as DNS servers for your domains.

- Finish Setup: Once all information is entered, click Finish to complete the installation.
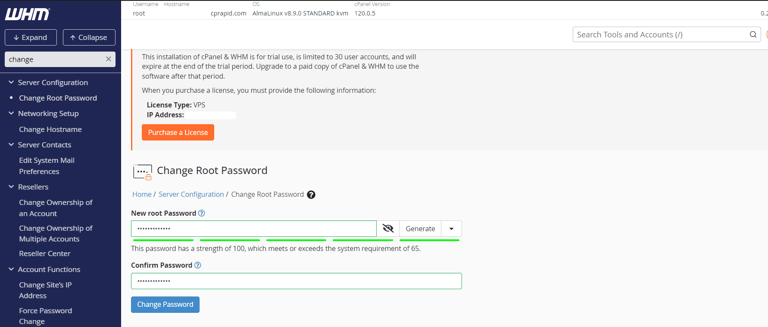
Step 8: Configuring WHM
With cPanel and WHM installed, you can now configure your server for domain and email management.
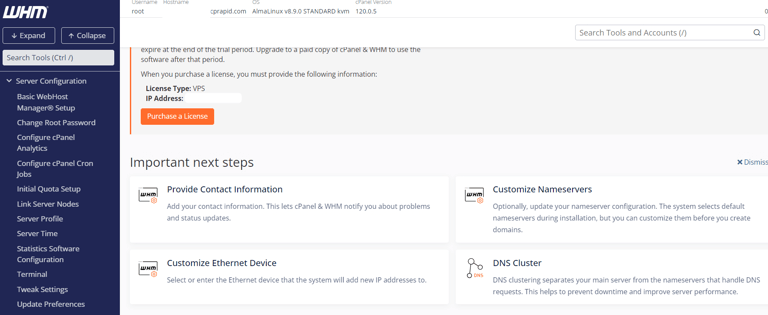
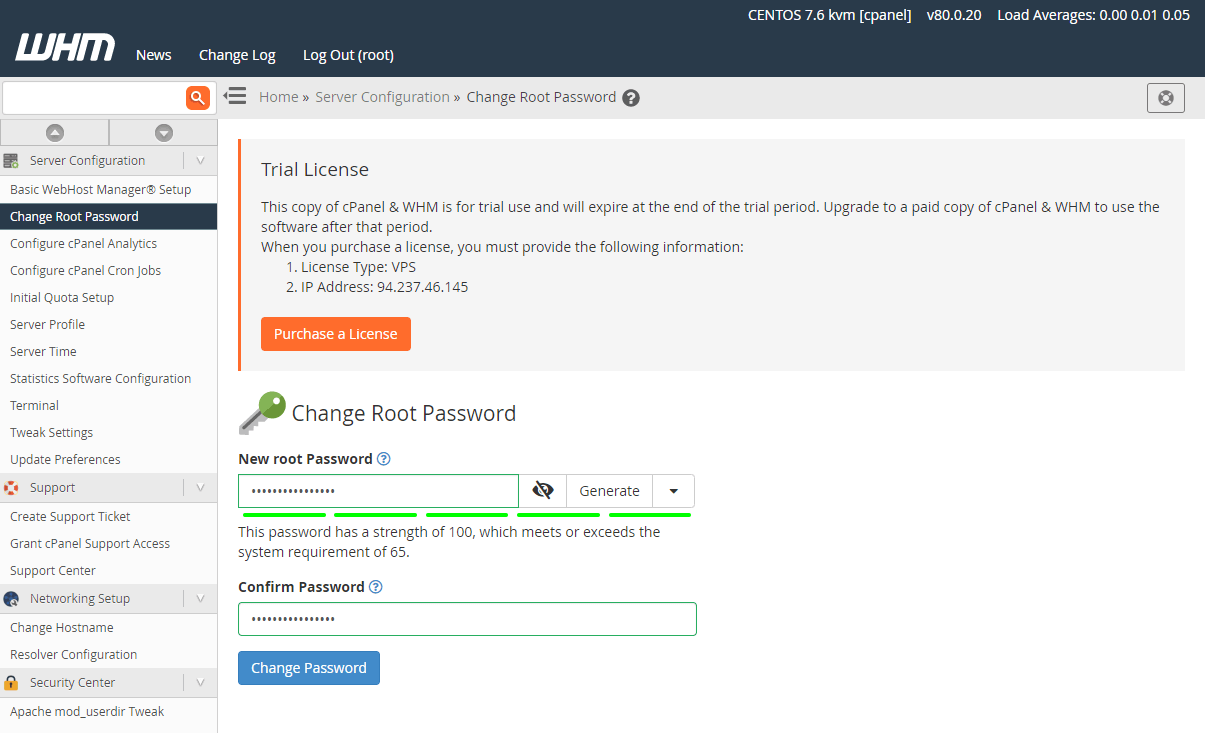
- Set the Root Password: In WHM, navigate to Change Root Password and set a strong password to secure your server.
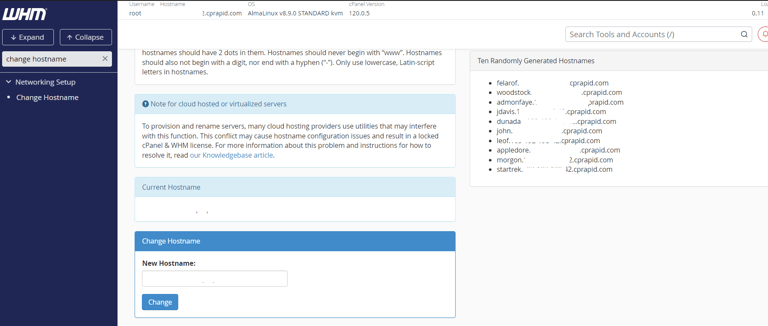
- Configure Hostname: If needed, set or change the server's hostname under Change Hostname.
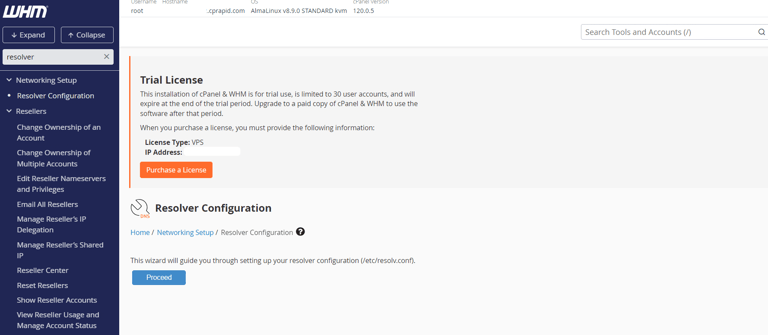
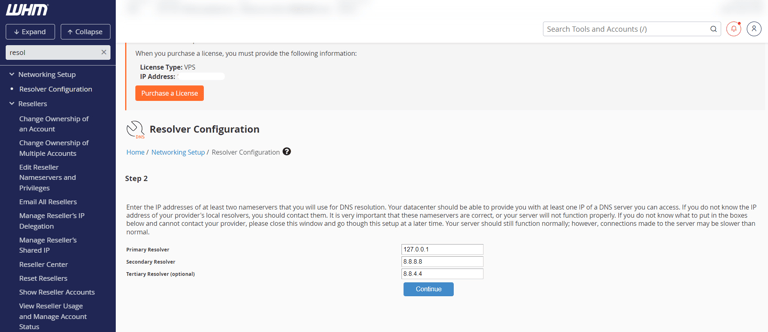
- Verify DNS Resolvers: Go to Resolver Configuration and ensure the server is using correct DNS resolvers. It's recommended to add 127.0.0.1 as the primary resolver and Google's public DNS (8.8.8.8 and 8.8.4.4) as secondary resolvers.
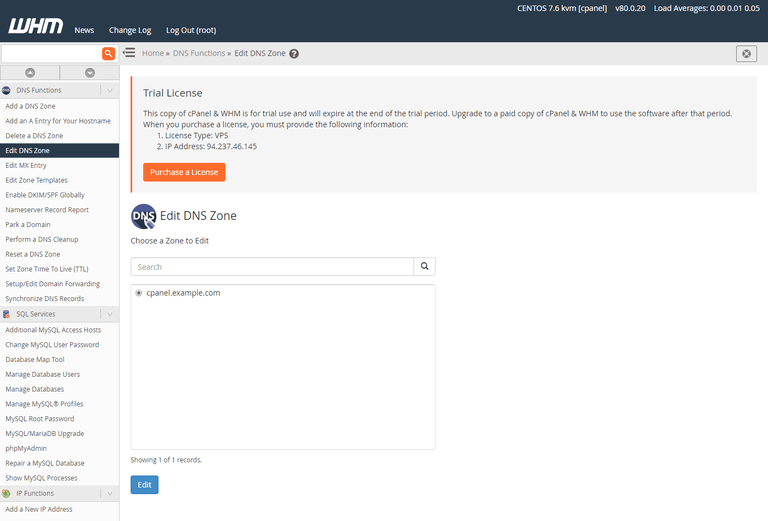
Step 9: DNS and Nameserver Configuration
 With the installation complete, you can manage domain records for your cPanel-hosted domains using the built-in DNS server.
To edit DNS settings for a domain, navigate to Edit DNS Zone, select the domain, and modify DNS records as needed.
Step 10: Browser Compatibility
cPanel & WHM have been thoroughly tested with the following browsers to ensure compatibility:
- Chrome (Windows, MacOS, Linux)
- Firefox (Windows, MacOS, Linux)
- Microsoft Edge (Windows)
- Safari (MacOS)
- Mobile versions of Chrome, Firefox, and Safari are also compatible with cPanel & WHM.
Conclusion
You’ve now successfully set up cPanel on your AlmaLinux instance! With the intuitive interface of WHM and cPanel, you can easily manage your web hosting environment, create new domains, manage email accounts, and more.
Should you encounter any issues or need additional help, feel free to reach out to RackBank support for assistance.