Installing the LAMP Stack (Linux, Apache, MySQL, PHP) on Ubuntu 22.04
This guide walks you through setting up the LAMP stack (Linux, Apache, MySQL, PHP) on an Ubuntu 22.04 server. By the end of this guide, you'll have a fully functioning server capable of hosting dynamic web applications.
Overview of LAMP
LAMP is a popular software stack used by developers for hosting web applications. Each component plays a key role:
- Linux: The underlying operating system.
- Apache: The web server that handles HTTP requests.
- MySQL: The relational database used to manage data.
- PHP: The scripting language used to generate dynamic web content.
This stack is highly flexible and used by many businesses and developers for deploying scalable and secure web applications.
Prerequisites
- An Ubuntu 22.04 server (this guide is applicable to most Linux distributions).
- Access to a user with sudo privileges.
1. Update Your Server
- Before installing new software, it’s important to update your system:
sudo apt update -y && sudo apt upgrade -y
2. Install Apache Web Server
- Apache is the most widely used web server, serving as the HTTP server for your LAMP stack. To install Apache, run:
sudo apt install apache2 -y
Configuring the Firewall
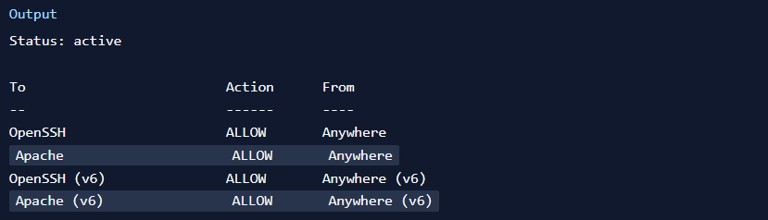
- If your system uses UFW (Uncomplicated Firewall), you'll need to allow HTTP traffic. Apache comes with a predefined UFW profile for handling web traffic. To allow Apache through the firewall:
sudo ufw app list
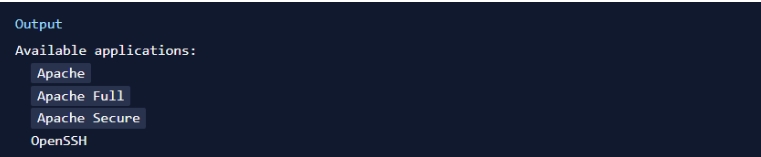
sudo ufw allow in "apache"
sudo ufw status
- To verify Apache is running, you can visit your server's IP address in your browser:
http://<your-server-ip>
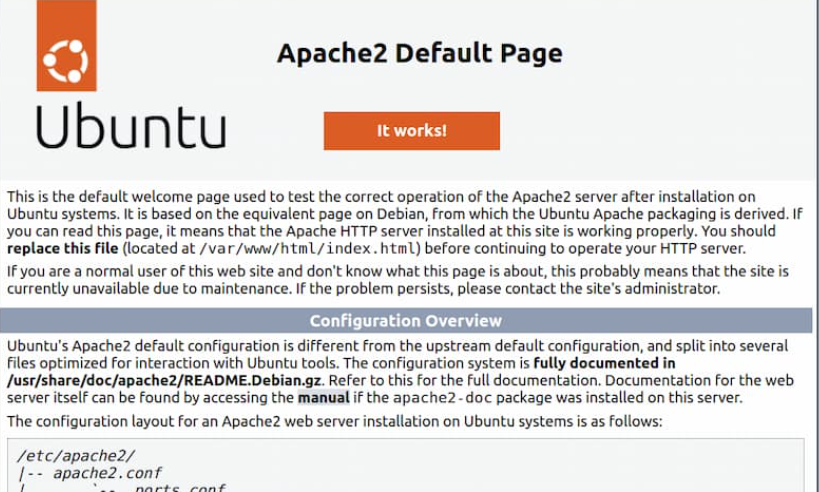
- You should see the default Apache Ubuntu page.
3. Install MySQL Database Server
- MySQL is the database management system used to store data for your web applications. To install MySQL, use the following command:
sudo apt install mysql-server -y
- After installing MySQL, it's a good idea to secure the installation by running:
sudo mysql_secure_installation
- This script will guide you through setting up a root password and applying basic security measures to the database.
Accessing MySQL
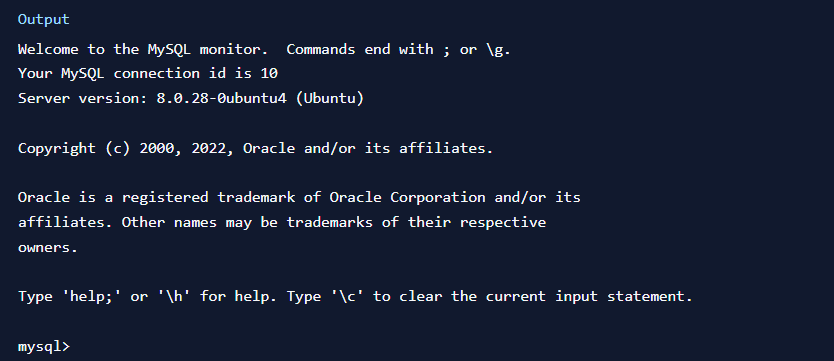
- To log into MySQL as the root user:
sudo mysql
- Start the interactive script by running:
sudo mysql_secure_installation


- You can also log in with a specific user:
mysql -u your_username -p

Creating a MySQL Database
- Once you're logged in to MySQL, you can create a new database and user:

CREATE DATABASE example_database;
GRANT ALL PRIVILEGES ON example_database.* TO 'your_username'@'localhost' IDENTIFIED BY 'your_password';
- Now, review MySQL configurations.
sudo mysql
4. Install PHP and Apache PHP Module
- PHP processes dynamic content on the server. To integrate PHP with Apache, you need to install PHP along with the necessary modules for MySQL support:
sudo apt install php libapache2-mod-php php-mysql -y
- After installation, verify the PHP version:
php -v

5. Configuring Apache to Use PHP
- By default, Apache serves the index.html file. To make sure Apache prioritizes index.php when serving requests, modify the
DirectoryIndexdirective in the Apache configuration:
sudo vi /etc/apache2/mods-enabled/dir.conf
- Ensure it looks like this:
<IfModule mod_dir.c>
    DirectoryIndex index.php index.html index.cgi index.pl index.xhtml index.htm
</IfModule>
- After saving the changes, restart Apache to apply them:
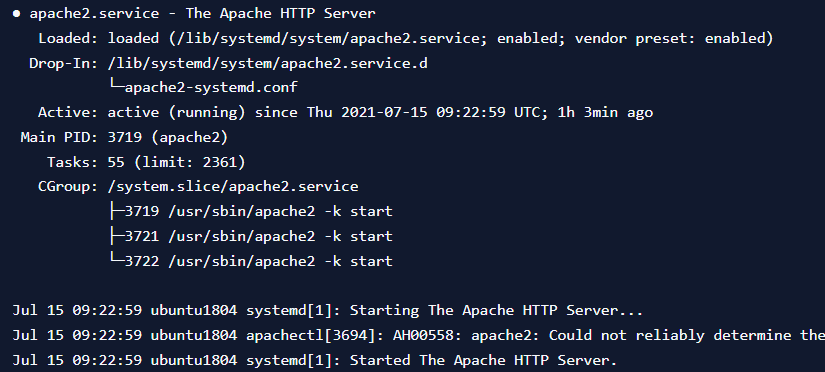
sudo systemctl restart apache2
sudo systemctl status apache2
6. Testing PHP with Apache
- To ensure Apache is processing PHP files correctly, create a PHP info file in your web root directory:
sudo vi /var/www/html/info.php
- Add the following content:
<?php phpinfo(); ?>
- Save and close the file. Then, navigate to:
http://<your-server-ip>/info.php
- If everything is working, you should see a detailed page showing PHP's configuration details.
7. Create a Virtual Host for Your Website
- To host a custom website, you can create a virtual host configuration for your domain. Start by creating a directory for your website:
sudo mkdir -p /var/www/your_domain.com
- Next, change ownership of the directory to your user:
sudo chown -R $USER:$USER /var/www/your_domain.com
- Then, create a configuration file for Apache in
/etc/apache2/sites-available:
sudo vi /etc/apache2/sites-available/your_domain.com.conf
- Add the following configuration, replacing
your_domain.comwith your actual domain name:
<VirtualHost *:80>
    ServerName your_domain.com
    ServerAlias www.your_domain.com
    ServerAdmin admin@localhost
    DocumentRoot /var/www/your_domain.com
    ErrorLog $```bashAPACHE_LOG_DIR```/error.log
    CustomLog $```bashAPACHE_LOG_DIR```/access.log combined
</VirtualHost>
8. Enable the Virtual Host
- Now that the configuration is in place, enable the new virtual host and disable the default site:
sudo a2ensite your_domain.com.conf
sudo a2dissite 000-default.conf
- To check for syntax errors:
sudo apache2ctl configtest
- If there are no errors, reload Apache:
sudo systemctl reload apache2
9. Create the Website’s Index Page
- Create a simple HTML file to serve as the landing page for your site:
sudo vi /var/www/your_domain.com/index.html
- Add the following HTML content:
<html>
<head>
    <title>Welcome to your_domain.com</title>
</head>
<body>
    <h1>Hello, World!</h1>
    <p>This is the home page of <strong>your_domain.com</strong>.</p>
</body>
</html>
10. Test the Site
- In your browser, go to either:
http://<your-domain.com>
or
http://<your-server-ip>
- You should see the "Hello, World!" message.
Conclusion
Congratulations! You've successfully set up the LAMP stack on Ubuntu 22.04, configured Apache to serve PHP-based websites, and created a virtual host for your custom domain. You can now begin developing dynamic web applications using the LAMP stack.