Setup MLflow in RackBank Instance
In this guide, we will explain how to set up MLflow in an Ubuntu instance, enabling you to manage your machine learning lifecycle effectively and efficiently.
Setup MLflow in RackBank
What is MLflow?
MLflow is an open-source platform designed to manage the machine learning lifecycle. It includes features to:
- Track experiments and runs.
- Package and share models.
- Deploy models to various environments.
- Monitor model performance.
Now, let's set up MLflow in a RackBank instance.
Setup Environment
- Ubuntu 22.04
- Python3
- MLflow
Step 1: Create a Ubuntu-22 Instance
Start by creating an Ubuntu 22.04 instance on RackBank.
Step 2: Update & Upgrade All Packages
Run the following commands to update and upgrade the package lists:
sudo apt-get update -y
sudo apt-get upgrade -y
Step 3: Install Python and Set Up the Environment
Install Python3 and pip:
sudo apt-get install -y python3-pip
pip is the package installer for Python, allowing you to easily install and manage libraries and packages for your Python projects.
Install the venv module:
sudo apt-get install -y python3-venv
The venv module in Python creates isolated environments for projects, preventing dependency conflicts, ensuring reproducibility, and allowing safe experimentation without affecting the system-wide Python installation.
Step 4: Set Up a Virtual Environment
Create a virtual environment:
sudo python3 -m venv myenv
Activate the virtual environment:
source myenv/bin/activate

Step 5: Install Necessary Packages
Upgrade pip and setuptools:
pip install --upgrade pip
![]()
pip install --upgrade setuptools
Install MLflow and Scikit-learn:
pip install mlflow scikit-learn
Step 6: Set the MLflow Tracking Server URL
The following command sets the MLflow Tracking Server URL, enabling centralized logging and tracking of machine learning experiments for collaboration and consistency:
export MLFLOW_TRACKING_URI=http://0.0.0.0:5000
Step 7: Run the MLflow Server
Run the MLflow server in the background using the following command. This ensures it continues running after logout, logs output to mlflow.log, and sets up the tracking server with an SQLite backend:
nohup mlflow server --backend-store-uri sqlite:///mlflow.db --default-artifact-root ./mlruns --host 0.0.0.0 --port 5000 &> mlflow.log &
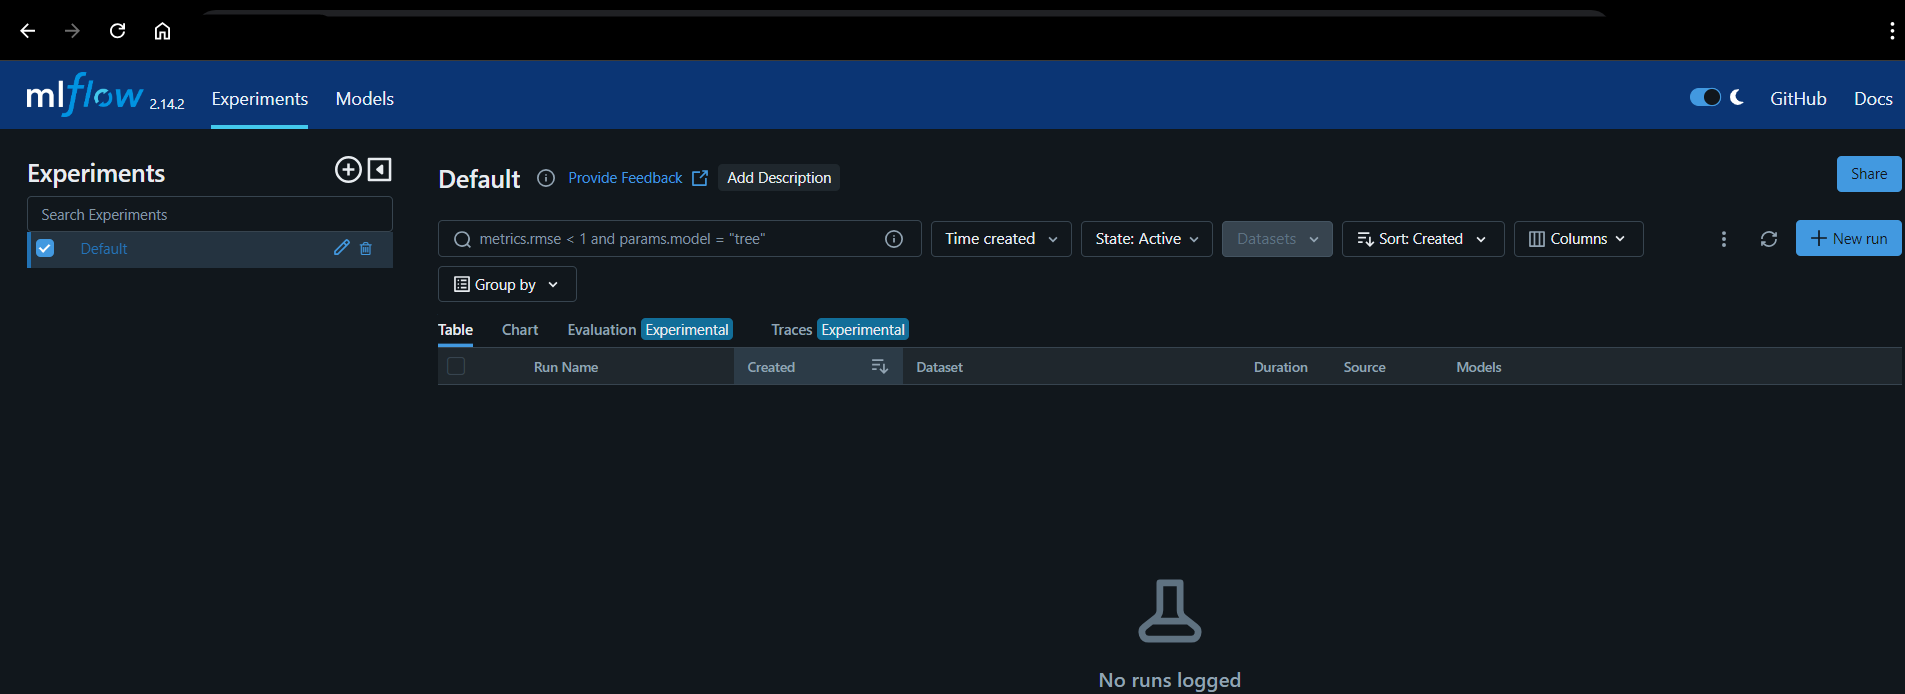
Step 8: Access MLflow
After running the command, open your browser and navigate to the following URL using your server's IP and port (5000):
http://your_server_ip:5000